> For the complete documentation index, see [llms.txt](https://oiadocs.cloudfabrix.io/llms.txt). Markdown versions of documentation pages are available by appending `.md` to page URLs; this page is available as [Markdown](https://oiadocs.cloudfabrix.io/admin-features-guide/projects/how-to-add-project.md).
# How to add Project
## How To Create a Project
Login as Project Administrator and select OIA (Ops Intelligence & Analytics) application. The Projects view is displayed. Click on 'Add Project'.
Enter the project details.

From above ‘Add Project’:
1. Enter Name for the Project
2. Enter Project Description
3. Enter Fully Qualified Domain Name (FQDN)
4. Enter the number of incidents that could be created within the time period. For example in the above figure, 3 incidents to be created for 5 Minutes. This is to avoid unnecessary load on the system. If more incidents are created then they will go into the ‘Throtting’ stage. The incidents that are moved to Throttling needs to be manually processed by the user.
5. Enter the number of Minutes, Hours or Day for the time period within which the above mentioned number of incidents can automatically run and fetch the data. An example is to create 3 incidents within 5 Minutes and the user enters 5 in this field.
6. Select MINUTE, HOUR or Day and this combined with the above field will define the time period. For above example, the user selects MINUTE
7. Throttle Incident after (time in minutes) - Enter the number of minutes a job can run before it is moved to throttled stage. As an example, if a job takes more than 15 minutes in pulling the information and to avoid any performance bottlenecks, the user can enter 15 in this field. Within 15 minutes, the job is not completed, then the job is moved to the throttled stage and can be completed later (when there is no other load on the system).
Click ‘Next’.
1. In the next view, it will collect incident purge settings so that unused incidents are archived after a certain time (in days). The view is as displayed below.
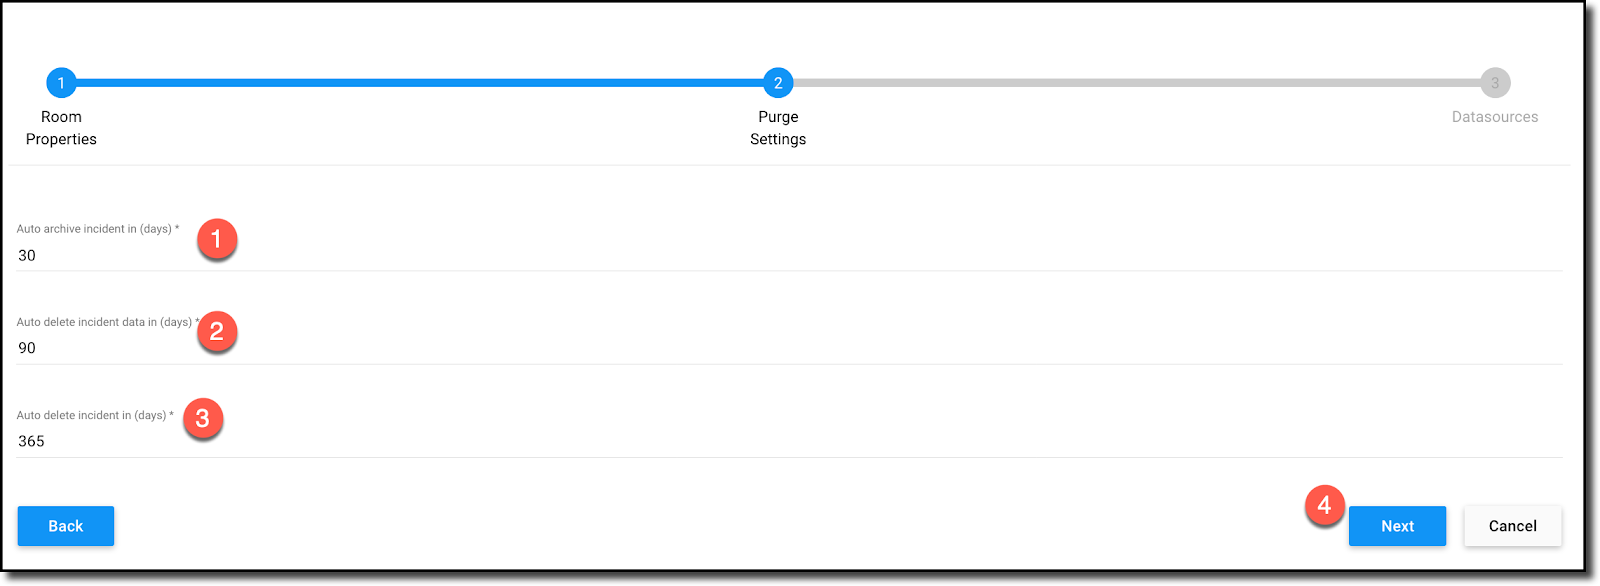
Auto archive incident in days - after the entered days, the incident is moved to archive and can be accessed from incident archive.
1. Auto delete incident data in days - after the entered days, the incident data is automatically deleted
2. Auto delete incident - after the entered days (say in 365 days), the incident is automatically deleted.
Click ‘Next’.\
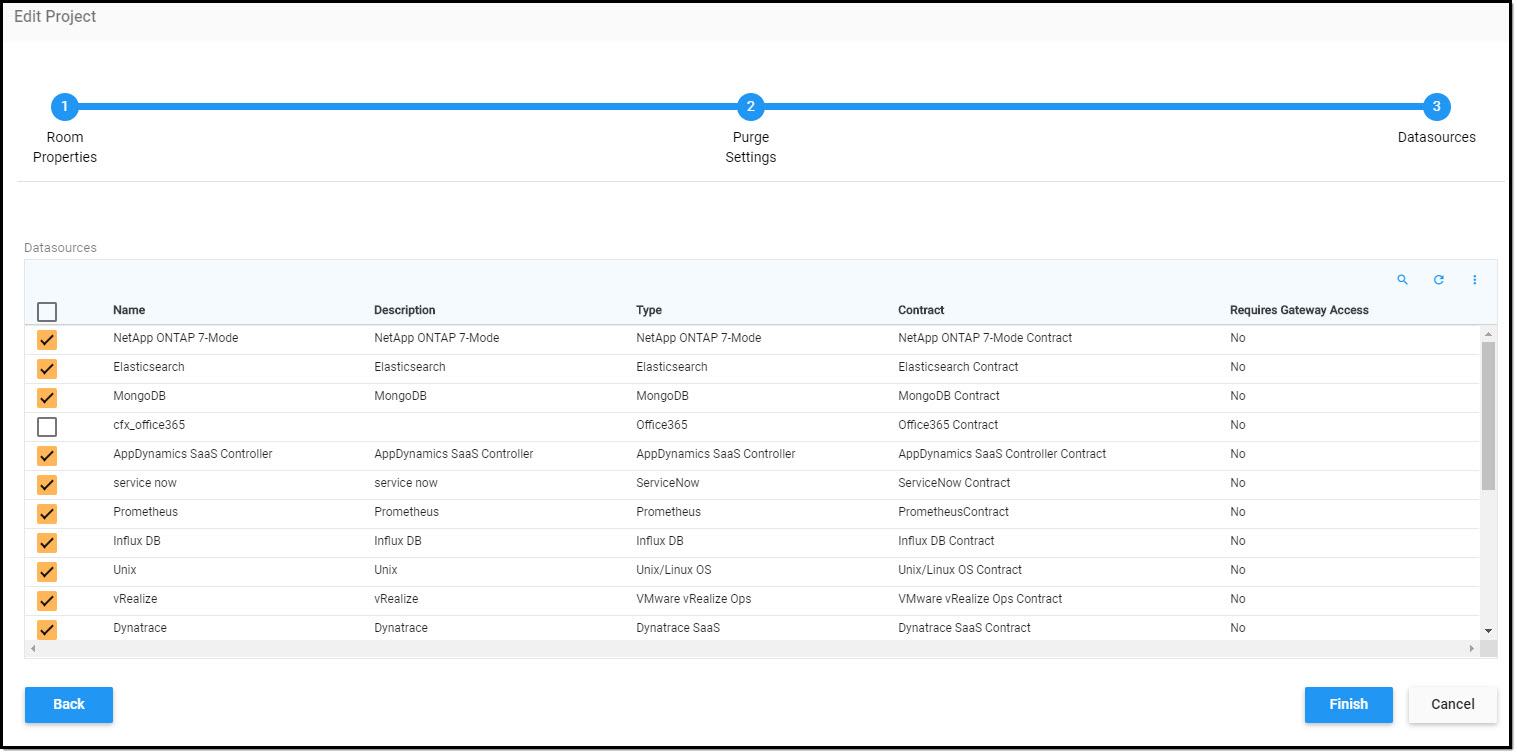
In this view, select all the data sources applicable to the project and click on ‘Finish’.
Once the project is created, it will be in an inactive stage and will move to the Active stage once background processing is completed.
Once the project is in ‘Active’ mode, the user can click ‘open’ displayed on the project to navigate into the project.
Once Project is created, it needs configuration before users can start working on Alerts and Incidents. Click [here](/admin-features-guide/projects/configure-project.md).